How to Build a Treasure Scavenger Hunt: A Step-by-Step Guide
There’s a good chance you’re checking out this blog because you’re hoping to create a fun treasure/scavenger hunt for a special occasion. If you’re like most, you might just need a little guidance! If you’re looking for the starting point, this is it! Start with this guide and then plug in gambits and ideas from other blog posts or my Youtube Channel! Best of luck!
Step 1: Purpose
You need to start with the purpose, and then the "perceived purpose". The purpose is simple, maybe a proposal or a birthday. That being said, you can’t tell your players what the purpose is ("Happy birthday, honey! There's a surprise party waiting for you and you need to find it!”)
This brings us to the perceived purpose. It could be something as simple as “I built this day for you, follow the clues!“ Or to be more elaborate: “You’re an initiate in a secret organization and must complete these trials to join.”
There are so many options. I’m fond of the good old fashioned “Treasure Hunt”. You can break the day up into two phases: Phase one is complete when they find the treasure chest. But once they find the chest, they must now locate the key!
If you want to make it more immersive/story driven, the “initiate” route is great because you can make them do any puzzle or challenge. You aren’t constrained by the story and having to make everything “make sense”.
Once you’ve committed to the perceived purpose, time to move to Step 2!
Step 2: Anchor points
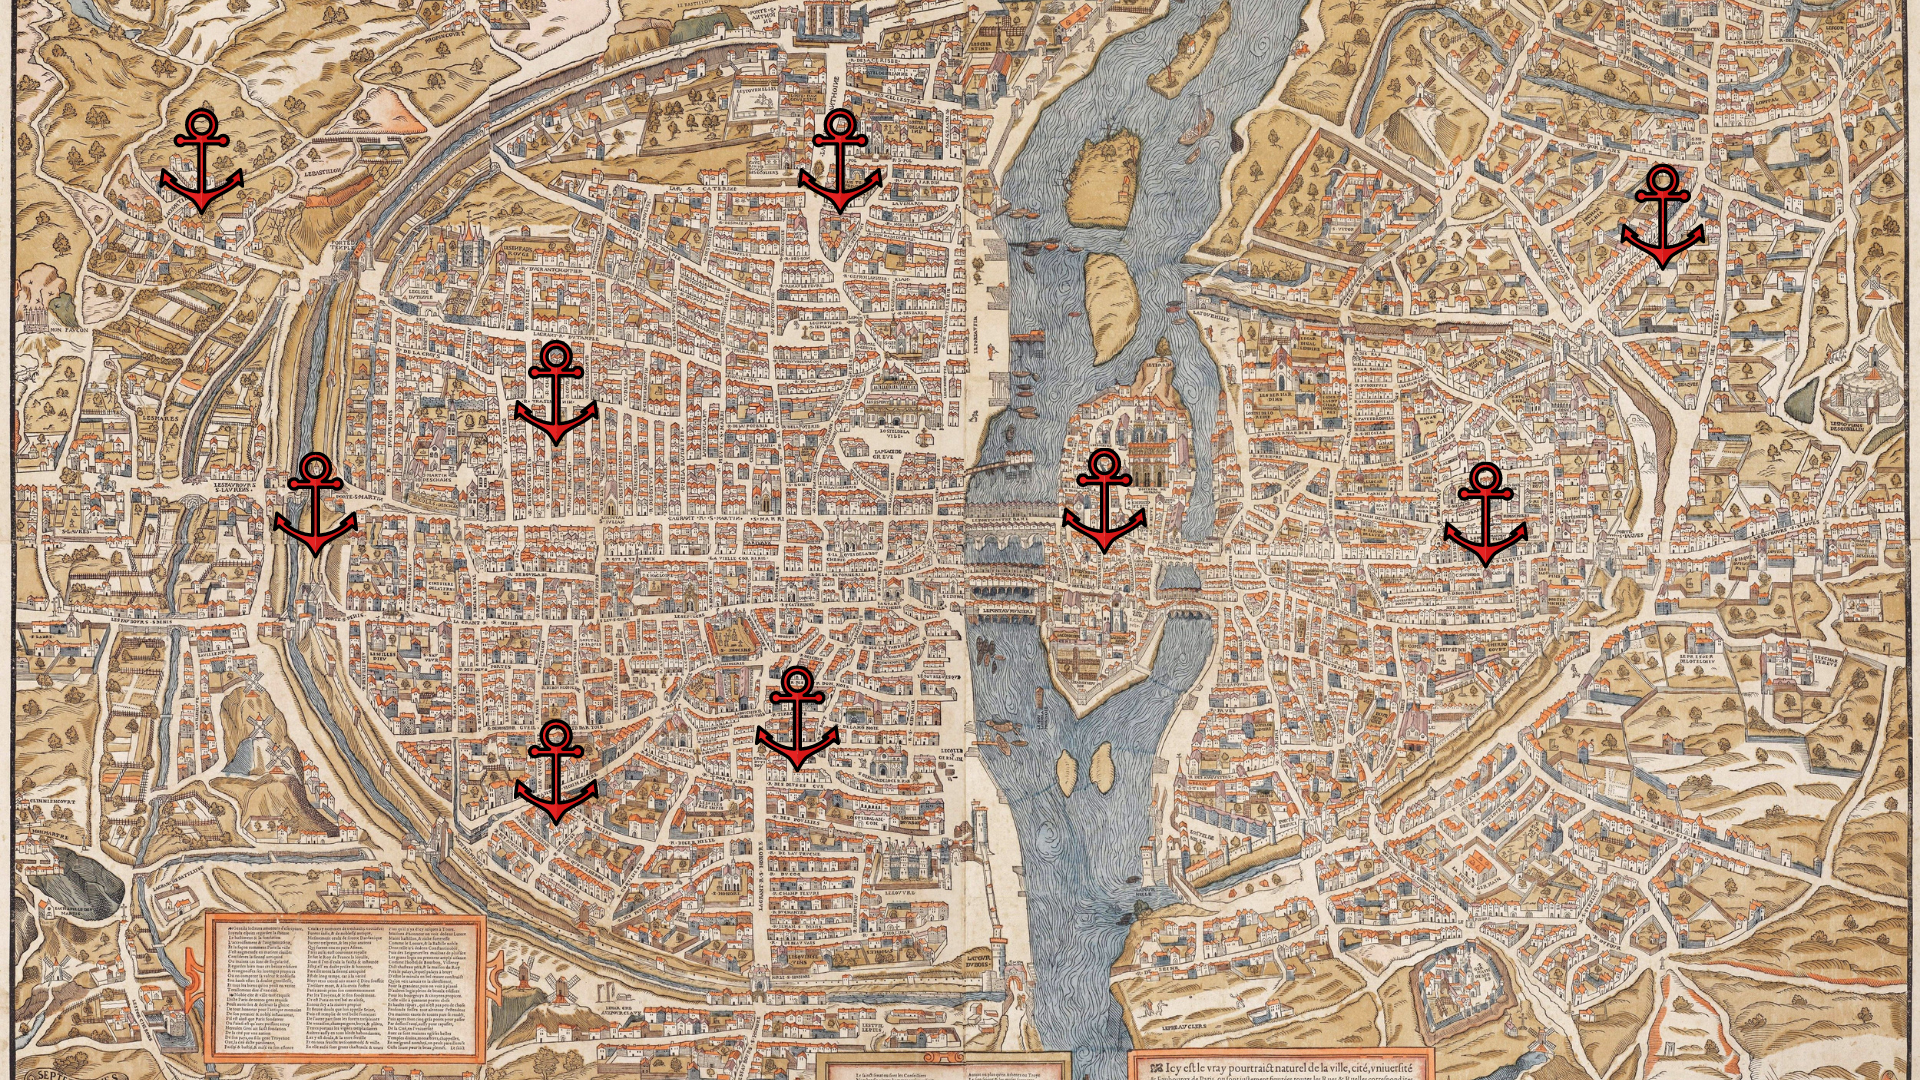
Time to scout and lock down your "anchor points." Consider anchor points to be the “must stop” locations on the hunt. It’s good to have a nice mix of meaningful locations and fun locations. Your most important anchor point is the final stop. Figure out the where and the when, and then jump all the way back and commit to the beginning.
Once you have the start and finish figured out, it’s time to scout locations in between. A simple rule I like to follow is “no location should ever be longer than 15 minutes of travel time from the previous location”.
This should help narrow down the radius of where you want this Adventure. After that, it’s just a matter of finding fun and interesting locations. In the beginning, just write down everything and slowly narrow it down.
Some of my favorite basic locations that usually work for most places:
Zoo
Museum
Park
Restaurant
Bookstore
Coffee Shop
Library
Antique Shop
Statue
Bronze Plaque
High Point (an overlook or a hill where you can use a monocular)
Use Tripadvisor, Google, and Yelp. Start checking out fun and interesting places in your area. Add them to this handy schedule doc. While you do that, populate them on a custom google map. This can help you choose the order of stops.
Step 3: Gambits
Once you have your outline, it's time to start adding "gambits". (I call them gambits because you're not going to use a puzzle at every stop.) Gambits are "anything you use to propel your player to the next stop". It might be having them find something, or it might be them solving a puzzle or decoding a message!
Gambits can be broken down into one of three buckets:
Dead Drops
Handoffs
Decodes
DEAD DROPS
This is any kind of play where you literally hide something for your player to find. It could be something as simple as a locked chest sitting in their home, to an envelope sitting in the hand of a statue in a public square. Dead drops are the most risky. I recommend hiding them well and giving your player detailed instructions and/or having someone keep eyes on the drop until it's picked up!
HANDOFFS
This play is where you have a human literally handing off what's needed to your target. These aren't nearly as risky, but require more help. Easy handoffs could include incorporating businesses or restaurants, or getting the help of friends and family to be at certain locations to approach your player!
DECODES
This play is where you encode a clue/instructions and then send your player to a place where they could decode the message. My favorite is a Book/Ottendorf cipher (i.e. National Treasure, back of the Declaration of Independence). There's something really fun about using a public plaque or sign to decode a hidden message just for you!
Step 4: Polish
Without knowing anything about your adventure, I can tell you that it is probably too difficult. Test things out and ALWAYS err on the side of making instructions too clear and puzzles/gambits too easy. You can always make the next one harder. If you’re unsure, hop on the Constructed Adventures Discord channel and post any questions or ideas in the “Adventure Help” or “Playtesting” channels. The community is happy to give you feedback to make sure your Adventure goes off without a hitch!
A few closing notes:
I recommend mixing things up. Decodes can be safe, but if you hit your participant with nothing but puzzles, their brain might explode. Dead drops are exciting, but leaving envelope after envelope in public places will cause you lots of undue stress. Get that balance!
Here are a couple parting rules I aways harp on that you should keep in mind as you're building the adventure:
Always make the adventure easier than you'd like.
Keep it under 6 hours total. Brains get tired. If it’s your first try, shoot for 2-3 hours tops.
Mitigate risk. If you're going to do something risky (like leave an envelope in a public place for an hour) make sure you have a contingency plan.
Think of a way that you can slow or speed up your player if there is a time-sensitive ending (like a surprise party or proposal).
Lastly, here is a list of items I like to use for Adventures:
Some of these items, like the Cryptex, I use ALL THE TIME. Others, like the Mexican Army Cipher or the Jefferson Wheel, are only recommended for specific circumstances. Disclosure: with some of these links, as an Amazon Associate, I earn from qualifying purchases.
This one is my favorite. It’s a little pricier but holds up wayyyyy better than the cheaper alternative. It’s got great weight and you can set the 5-digit password to anything
Same as above, this one has six letters instead of five. Also, the inside cylinder has a heart etched into it so it kinda pigeonholes you into using it for something romantic.
The Justin Nevins Cryptex puzzle box
These are made by the guy that designed the first Cryptex. They are pricier but absolutely incredible and well worth the money if you have the budget. I own one and never use it for adventures. It’s part of my personal collection. If you want to make a statement and have a keepsake you’ll treasure forever- this is where you go.
This is a great way to give someone a few math-based puzzle/logic problems before they can decode a message. I have a short list of problems if you feel inclined to use this.
This can only be used to decode messages (no puzzles, just transcribing). It’s definitely fun, yet simple.
Honestly, you can get any kind of blacklight. This one is pretty small and inexpensive. They’re all the same.
Similar to the blacklight, you’re probably ok with any blacklight marker. I personally like this set because blue/pink markers are VIBRANT but can potentially be seen by the naked eye while yellow is much more subtle. The different levels of visibility give you options.
These are great. Heat makes the ink disappear and cold makes it reappear. Can add some really fun “magic tricks.”
Great for use in libraries and bookstores. You can also find a few other options at your local Hobby Lobby.
This one is a little pricier but actually has real pages. Plus the combination lock adds an extra step for the more difficult adventures. Heads up, the lock isn’t great.
This is great for putting on a small chest with an accompanying riddle. There is a list of possible answers that comes with the lock and I can help find/create riddles with you.
These come in different colors and have a different buffet of letters and answers.
This is a tad more complex but gives you lots of options. We can create a directional puzzle or use number/letter/other stickers that come with the lock. I personally love using the Heart/Diamond/Club/Spade sticker and creating a fun puzzle using playing cards.
The chest is pretty nice but the lock feels a bit cheap. You can also go to Hobby Lobby and find boxes, but you’ll have to buy a hasp from a hardware store and attach it yourself.
These are great. They are heavy and need the key to open.
This is a simple portable box that can be tethered in a public place. You can place it somewhere in advance and can confidently know that it will still be there when your player arrives.
This is specifically for Geocaching, but the rules are the same. It’s full of great ideas for location-based puzzles and hiding objects.
You’ve got this!


